This year for Halloween I've decided to be Red Riding Hood, with my costume inspired by the movie released in 2011. If you know me, you'll know that my costumes for Halloween are mainly limited to anything I can make from fabric on the clearance shelves, or a witch. Most often than not, I'm a witch. Last year, however, I purchased fabric that would have made for an awesome Rapunzel dress; unfortunately, it was my first time ever trying to make a costume and it really didn't turn out that great (my boyfriends costume was amazing, though). I resolved to do better this year.
For the dress I used the Butterick 4827 pattern (modified slightly) and used a light blue heavy linen fabric that I purchased at Fabricland.

I ended up modifying the pattern to make the end product look more like the blue dress Valerie wears in the movie. Instead of having it lace up in the back, I cut the front and added lacing. I also modified the sleeves to make them 3/4 length instead of full. Before starting, I attempted my first ever fashion design sketch which I think actually turned out pretty nice.

Once I'd decided how I wanted the dress to look, I found a pattern that matched fairly well and picked out the fabric I liked. To be noted: this was the first time I've ever picked out fabric for a Halloween costume that wasn't on the clearance rack. The fabric I bought was 60" wide so I ended up using a lot less than the pattern called for, although I did make the biggest size just in case. I usually have a problem with patterns where the bust and hips are too small and the waist too large. I also didn't use all the pieces the pattern called for. I modified the pieces for the front and back facing so that I could make laces up the front. I just traced the pattern pieces onto paper and cut off the lacing support from the back facing and attached it to the front. I did end up cutting the front facing piece shorter so that it only went down to the waistline.

After I had modified what I need to and pre-washed the fabric, I started pinning and cutting (it was a lot of fabric to work with and it's actually really heavy).

Once I had all the pieces cut out I followed the directions given by the pattern to sew it all together. The below picture is the front of the dress. I ended up cutting a slit down the front center to the waistline for the front lacing.

I don't have any more progress pictures mostly because I hadn't yet bought the eyelets for the lacing and once I cut the slit down the front, it refused to stay on my shoulders. All of the pieces got sewn together, I top stitched around the neckline, and I added eyelets and lacing.
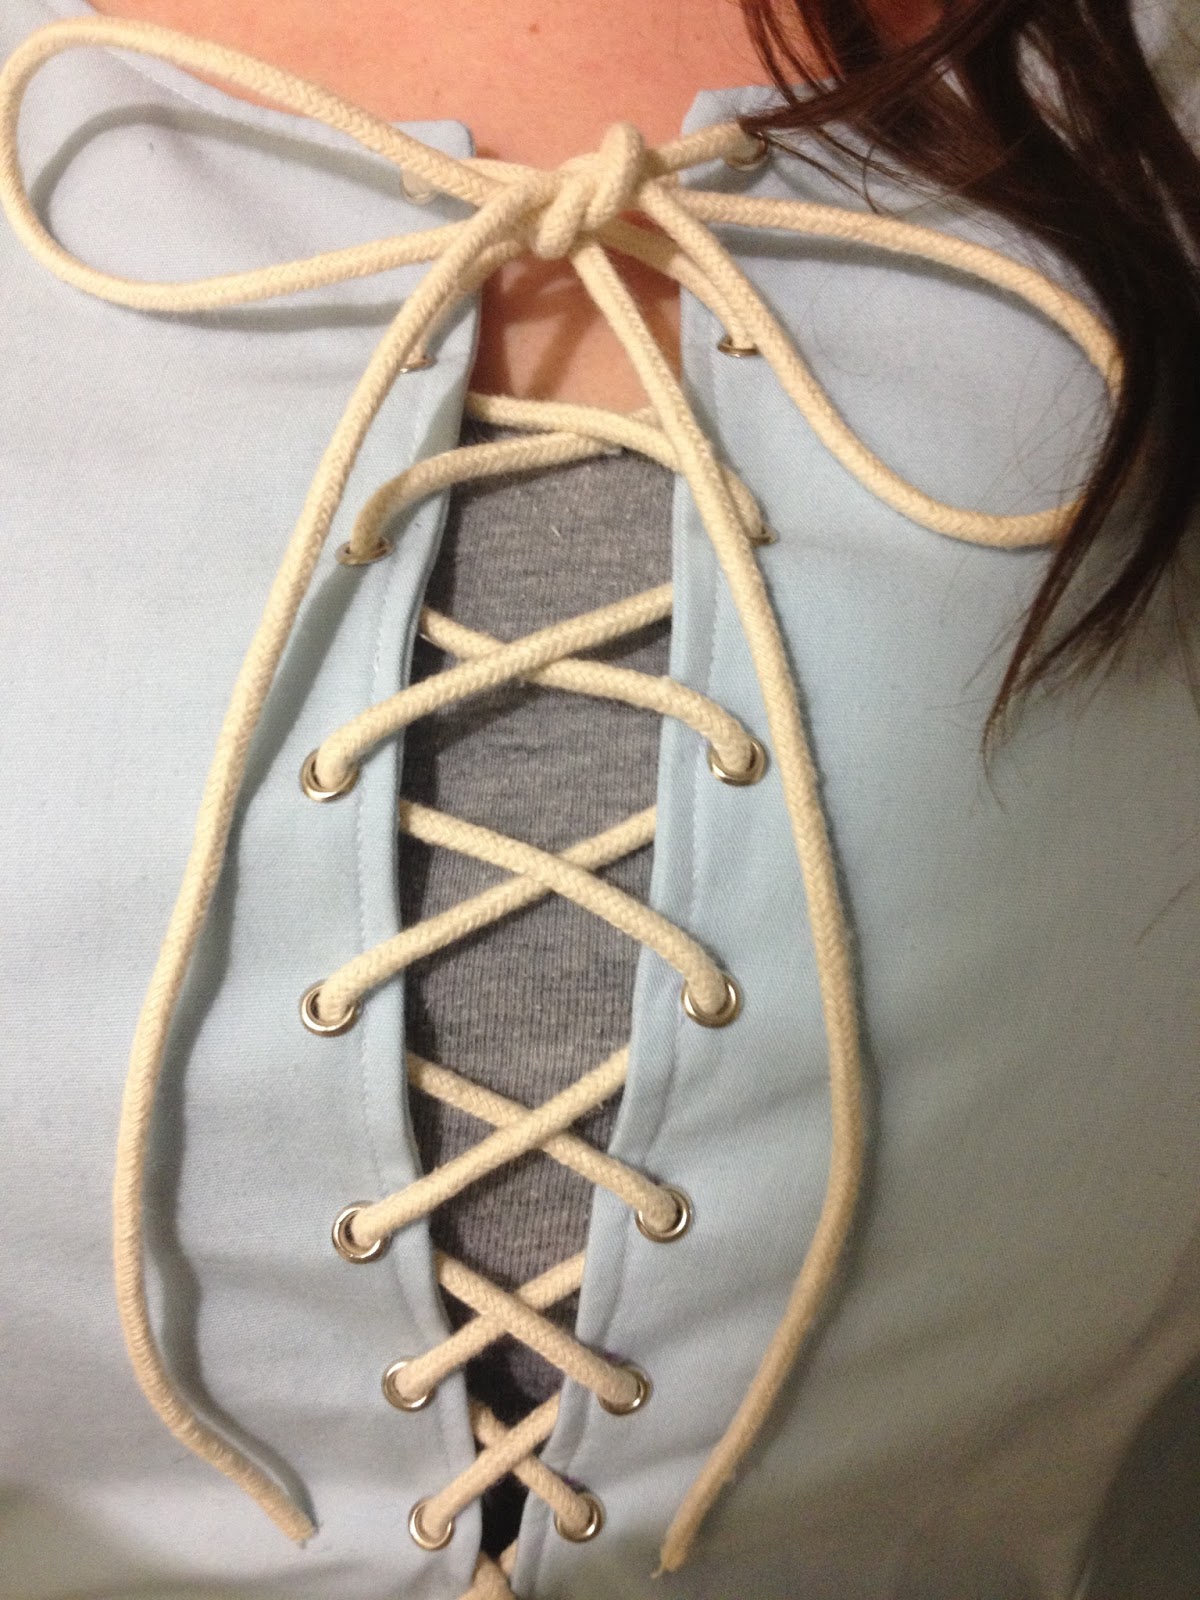
And then it was a dress! A badly fitted dress mind you, but a dress.

I really hated how it was fitting. I saw pictures of dress made from the same pattern and I felt like mine was way too big up top. I do have a smaller waist and this dress made me look much bigger than I actually am. It was really loose so I turned it inside out, pinned it to be a little tighter, and took it in quite a bit. And this is the finished dress!


In my opinion it looks much better now (Shayne agrees although he did suggest I should have made the lacing a little bit looser..... boys.). I say finished but I still have to hem the bottom edge. Doing this project and having to take the dress off after having pinned it does make me realize the need for a dress form. It went on my Christmas list after having been poked by a pin the fifth or sixth time trying to get the dress off.
So that's it! I still have to make my red cloak but I'll make another post for that (I actually already have one made but Shayne disapproved of the fabric and ordered me some new stuff). My friend is a budding photographer and she's been really excited for me to finish the costume so that she can use me in a photoshoot. If she gets some good shots I'll be sure to update with them!


